How To Draw A Hawk: Easy Tutorials For Kids & Beginners
Are you ready to take flight into the captivating world of art, where the majestic hawk becomes your muse? Drawing a hawk is not just a creative endeavor; it's an opportunity to connect with the power and grace of nature, bringing these magnificent creatures to life on paper, and it's easier than you might think.
Embarking on the journey of drawing a hawk opens up a realm of possibilities for artists of all ages and skill levels. This tutorial, designed with clarity and simplicity, offers a comprehensive guide to help you capture the essence of this remarkable bird. Whether you're a seasoned artist or a budding enthusiast, this guide provides a step-by-step approach, ensuring a rewarding and enjoyable artistic experience.
Let's delve into the specifics of this art project, providing all the necessary steps and information to make this drawing exercise both simple and fun.
| Aspect | Details |
|---|---|
| Drawing Project Title | How to Draw a Hawk |
| Difficulty Level | Suitable for beginners and intermediate artists |
| Recommended Age Group | Children and adults |
| Main Focus | Learning to draw a hawk step by step with an emphasis on anatomy, form, and details. |
| Materials Required | Pencil, paper, eraser, and coloring materials (markers, colored pencils, etc.). |
| Methods Applied | Simplified shape method, feather pattern exploration, shading techniques, and detailed feature drawing. |
| Associated Themes | Nature, birds of prey, wildlife art, step-by-step tutorials. |
| Educational Benefits | Enhances observation skills, develops hand-eye coordination, fosters creativity, and encourages an appreciation for nature. |
| Where to Find Tutorials | Online video tutorials, step-by-step guides, and art resources. |
| Reference Website | All About Birds - Birds of Prey |
The journey begins with a simple sketch, establishing the basic form and proportions of the hawk. Start by understanding the anatomy of the hawk. Drawing the basic skeleton is the initial step, which is followed by defining the body shape. Using a pencil, lightly sketch the outline of the hawk's body, paying attention to its posture and pose. Then, add two ovals, one for the head and another for the body, to define the initial positions. The next step involves creating a guideline for the neck and tail, which will further aid in shaping the hawk's form.
The next step is to add the wings. The wings are key elements of any drawing, and in this case, they are essential in giving the hawk its characteristic appearance. The initial sketch of the wings establishes the position, shape, and size. Once the initial wing outlines are drawn, use a pen to go over these outlines. When drawing the wings, focus on adding sharp lines along the edges to create a feathery detail, which enhances the hawk's realistic look.
Next, the feathers will begin to take shape. Hawks, with their sharp eyes, strong wings, and graceful flight, make for exciting subjects to draw. These drawings are specific and particular to a certain level of drawing and sketching experience and knowledge, from beginner to advanced. This part of the drawing requires paying close attention to the direction, shape, and layering of the feathers. Generally, feathers are darker towards their ends and lighter towards their base. Be sure that the feathers are also shaded according to the overall light and shadow on the hawk's head. This means that the feathers in the back and other shadow areas should be shaded. Let's fall into the pack of these superb camel drawing ideas.
Consider the position of the hawk. Is it in flight, perched on a branch, or resting? These details will help determine the angle of the wings, the position of the talons, and the overall composition of your drawing. Remember, the goal is not just to replicate a hawk, but to bring it to life on paper.
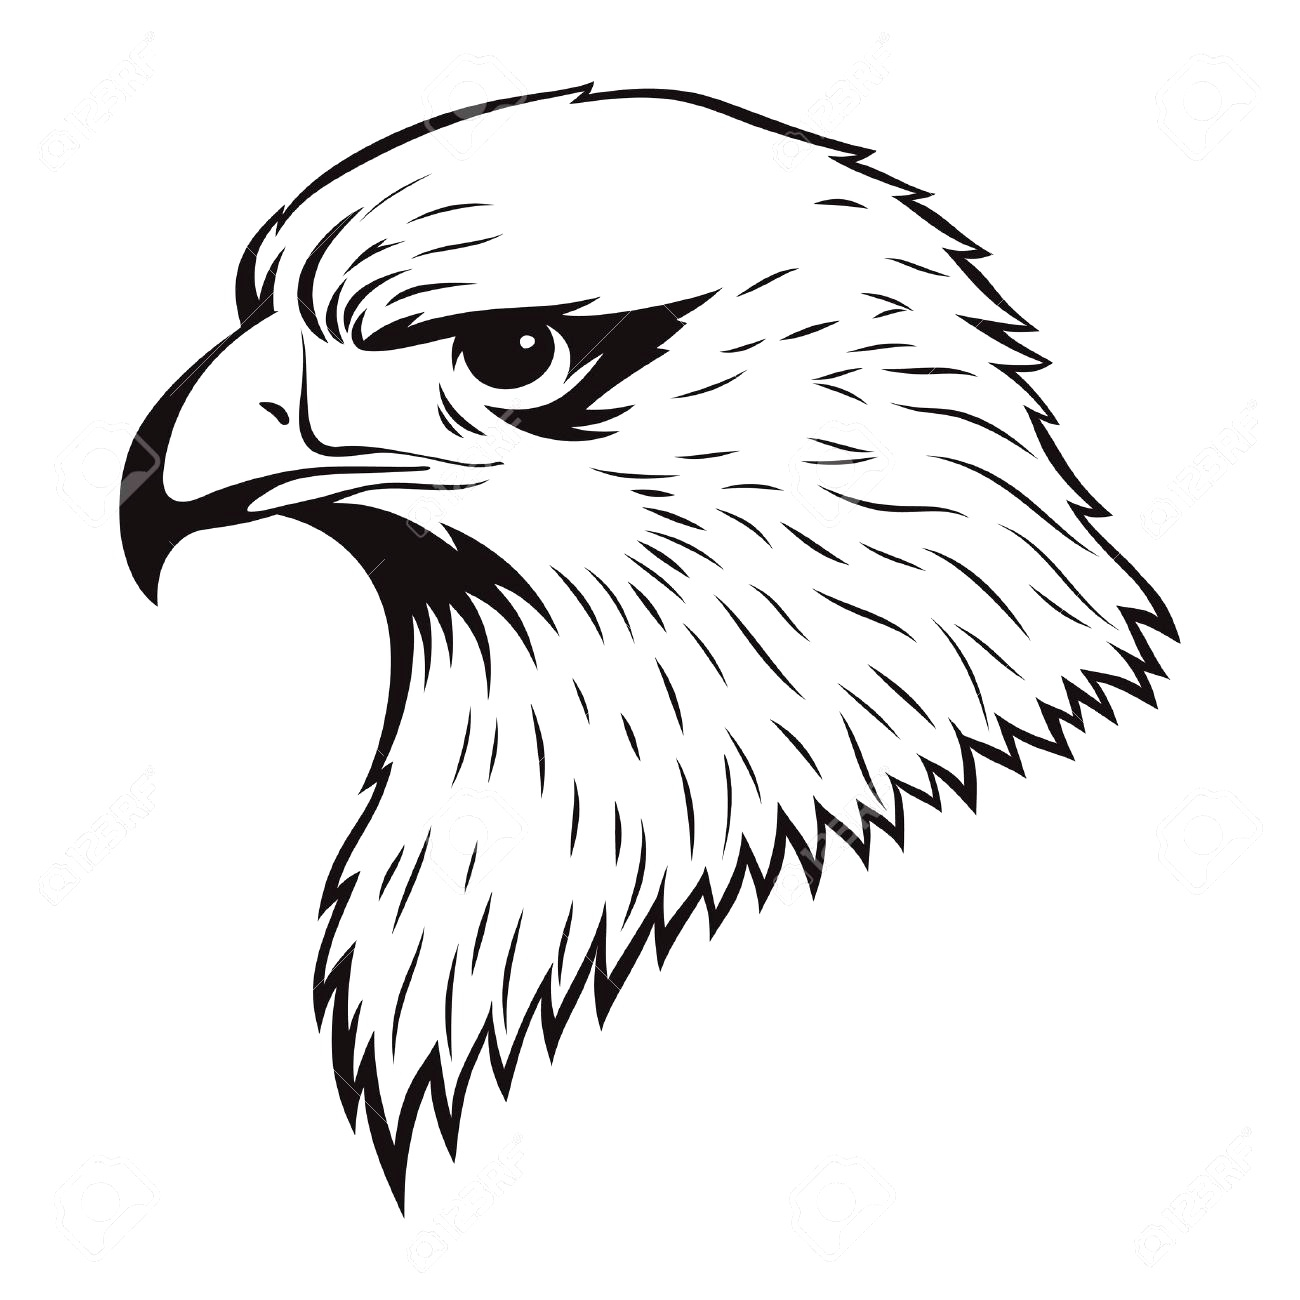
Drawing the hawk's head requires paying attention to its unique characteristics. Begin by drawing a line, which will act as the center of its head. Add a smaller, rounded head connected to the body with a short neck. Draw a strong, pointed beak on the head, which is key to the hawk's predatory nature. Then, add a round eye on the head, followed by a curved, loosely "s" shaped line, above the eye. Complete the eye by ending the line with another short, curved line. Add the eye itself, the pupil, and the gleam in the hawk's eye. Finally, add some hints of the feathers. Draw a smaller oval next to the first as a guide for the hawk's head.
The tutorial provides various techniques. One method simplifies the hawk's complex form using basic shapes, while the other focuses on detailing the intricate feather patterns. Learn how to draw a hawk in six simple steps with this online guide. Follow the red lines and sketch the hawk's head, wings, tail, feathers, beak, feet, and claws. Remember when you're coloring these pages that you can also add some details of your own! One of the best ways to do this is by drawing a background.
The addition of color enhances the drawing, giving it dimension and a more realistic appearance. Choose colors that reflect the natural hues of a hawkshades of brown, gray, white, and black. Generally, these will be darker towards the ends and lighter towards the base. Be sure that the feathers are also shaded according to the overall light and shadow on the hawk's head. Whether you're a parent, teacher, or art enthusiast, art for kids hub's newsletter is packed with fun.
In this episode, we take a look at the process of sketching a hawk (mistakenly called a falcon by us experts) with sepia toned pastel pencils and black and white charcoal on gray drawing paper. This lesson is for kids and fans of Oak Hill Elementary School in Kansas, whose mascot is a hawk. Follow the guide to sketch the basic skeleton, the body, the wings, the feathers, and the details of the hawk. Follow the simple steps and watch the video to create your own hawk drawing. This episode aired live on YouTube on February 17, 2021.
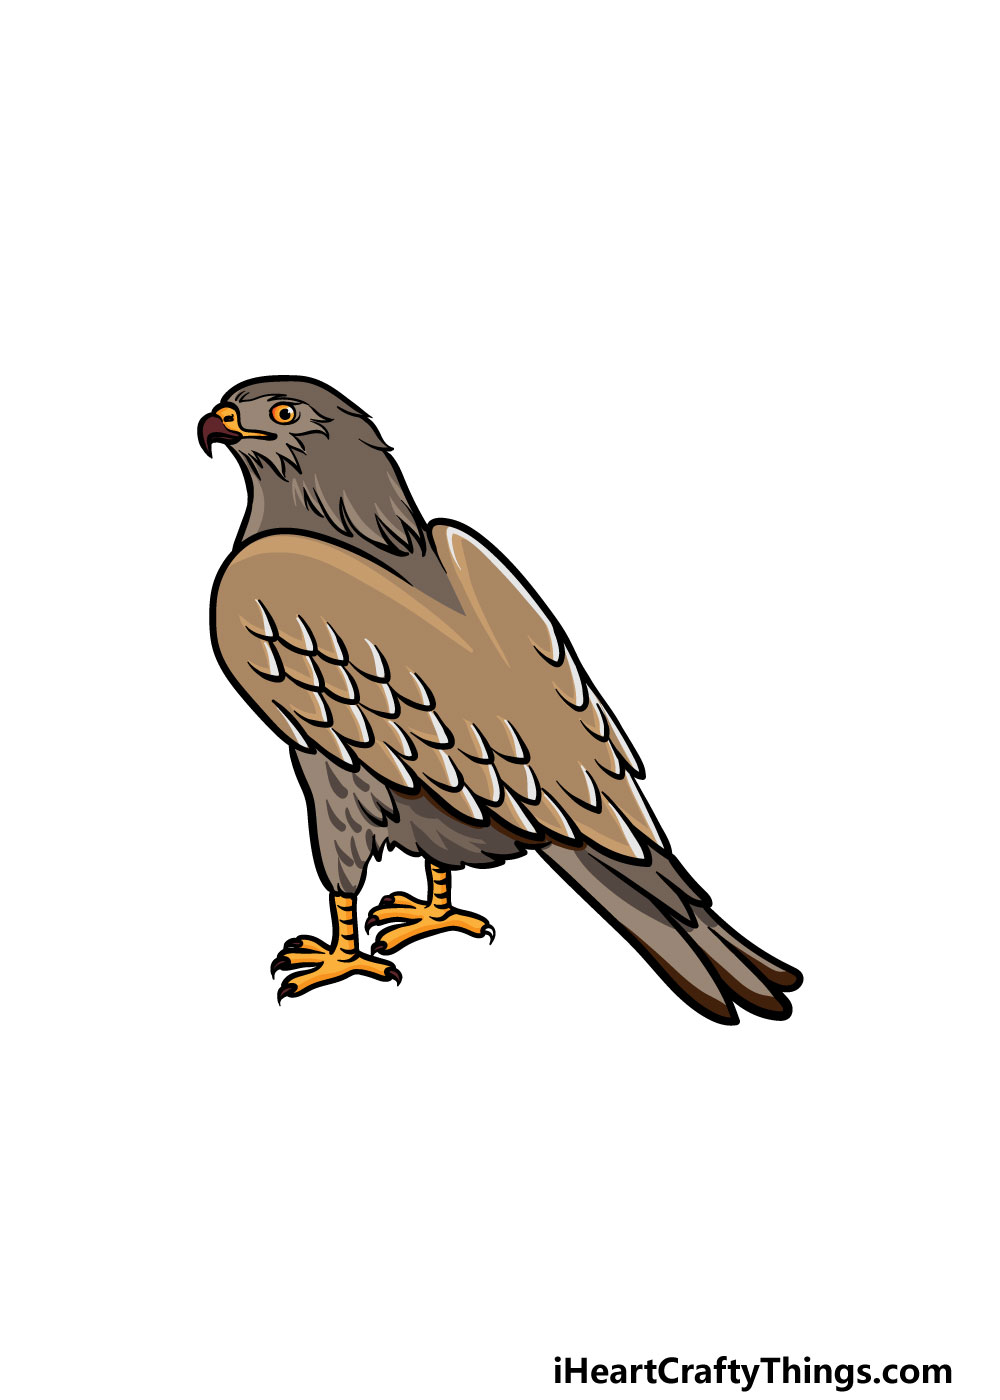
Remember, the drawing should capture the dynamic essence of the hawk in flight or at rest. Draw a rounded body shape for the hawk. Sketch two thin legs with sharp claws, extending from the bottom of the body. Then draw two wings on each side of the body, with feather details. This hawk looks like it is ready to take flight, and maybe it's getting ready to go on a hunt. These drawings are specific and particular to a certain level of drawing and sketching experience and knowledge, from beginner to advanced. How to draw a hawk is a nice drawing project because of their extraordinary appearance.
The beauty of this project lies in its flexibility and adaptability. You can alter the poses, add backgrounds, and experiment with colors to make your drawing unique. This lesson provides not only a guide on how to draw a hawk but also a gateway to exploring the creative world. How to draw a hawk! The following tutorials will assist the kids very thoroughly and vividly. This way they can learn to draw very easily at home. Hey, learn how to draw hub crew! Today, we are going to be learning how to draw a cartoon hawk easy and step by step! Complete your hawk by drawing the eyes and tongue. Hawks, with their sharp eyes, strong wings, and graceful flight, make for exciting subjects to draw. We've gathered 39+ easy and cute hawk drawing ideas that are perfect for kids and beginner artists. In this video, I will walk you step by step through the process.
The tutorial emphasizes the importance of starting with the basics. Mark off the width and height of the hawk. Draw two ovals that will help to define the places for its head and body. Adding a smaller, rounded head connected to the body with a short neck will help the artist in making the overall drawing process. After that, follow the red lines and sketch the hawk's head, wings, tail, feathers, beak, feet, and claws. In this part of your hawk drawing, you will be using your pen to go over the wing outlines that you drew in step 1. While drawing now, you will be adding some sharp lines along the edges of the wings to create some feathery detail.
Whether you choose to create a realistic portrayal or a cartoon version, this project is an excellent opportunity to explore the world of art. Remember, the most important aspect is to have fun and enjoy the process of learning and drawing. Learn how to draw hawks with simple shapes and creative ideas. You'll learn to draw a hawk in flight in just a few steps with this simple tutorial. Learn how to draw a hawk, a medium-size bird of prey, with this easy and fun tutorial.
Beginners and anyone who wants to draw a hawk or an eagle will find this tutorial perfect for them. It is important to follow the guide to sketch the basic skeleton, the body, the wings, the feathers, and the details of the hawk. This way they can learn to draw very easily at home. These drawings are specific and particular to a certain level of drawing and sketching experience and knowledge, from beginner to advanced. We've gathered 39+ easy and cute hawk drawing ideas that are perfect for kids and beginner artists. Join the art for kids hub newsletter! Get the latest updates, news, and exciting announcements from art for kids hub delivered straight to your inbox!
Hawk's head drawing side view. Draw a smaller oval next to the first as a guide for the hawk's head. Next to the small oval, draw an arc for the bird's beak. Draw two curved lines that connect the head to the hawk's body. Below the hawk's body, draw a line that splits into four smaller lines as a guide for the bird's feet. It's drawn in a really interesting, unique style, and there are some great details to color here.

